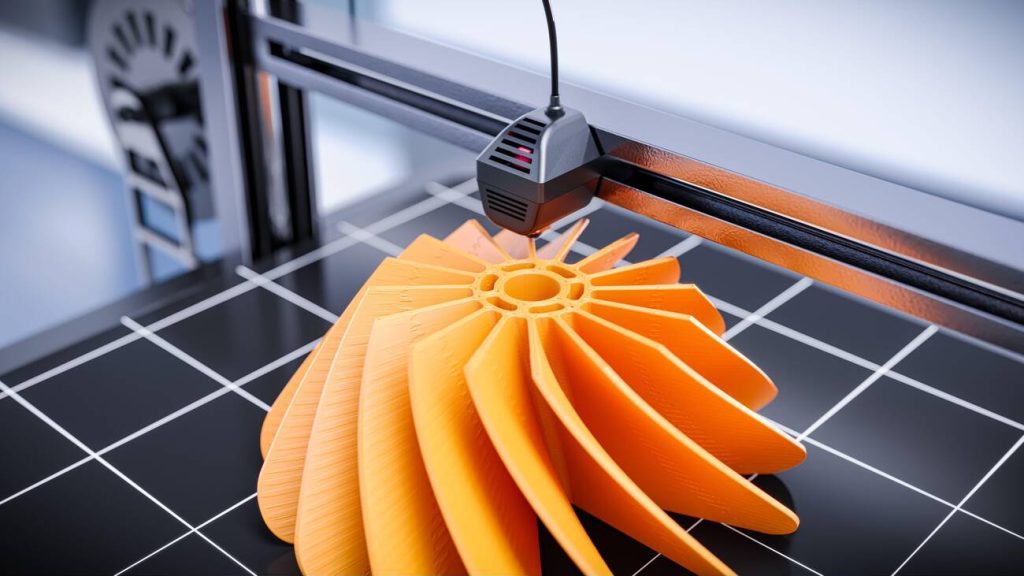
Have you ever wanted to capture the mesmerizing process of 3D printing in a time-lapse video? Well, look no further! In this article, we’ll show you how to do just that. We’ll explore the power of time-lapse videos for showcasing your 3D printing projects and provide tips on choosing the right camera and setup. From calculating the capture interval to stabilizing your camera, we’ve got you covered. So grab your Brinno Time Lapse Camera and get ready to bring your 3D prints to life in stunning time-lapse footage!
The Power of Time-Lapse Videos for 3D Printing Projects
Time-lapse videos are a powerful tool for showcasing the progress of your 3D printing projects and capturing viewers’ attention. These videos have a significant impact on project documentation, allowing you to document each step of the printing process in a condensed format. Lighting plays a crucial role in creating high-quality time-lapse videos, as it ensures clear and vibrant footage. It is important to ensure camera stability for smooth and steady footage, preventing any blurriness or shaking. To capture different angles and perspectives in your time-lapse videos, you can experiment with positioning the camera at various vantage points around the printer. However, there may be challenges such as vibrations or limited space that need to be addressed for optimal recording. By overcoming these challenges through proper setup and technique, you can create compelling time-lapse videos of your 3D printing projects.
Choosing the Right Camera for 3D Printing Time Lapse
To choose the right camera for your 3D printing time lapse, you’ll want to consider factors such as resolution, lens options, and Wi-Fi capabilities. The camera you choose will greatly impact the quality of your time lapse videos. Here are some camera options to consider:
| Camera Model | Resolution | Lens Options |
|---|---|---|
| TLC120 | 720p | N/A |
| TLC200 Pro | 720p | Interchangeable |
| TLC200 f/1.2 | N/A | N/A |
When it comes to camera settings, make sure to set a suitable capture interval and adjust the frame rate for smooth playback. Additionally, proper camera positioning is important for capturing clear footage without interference from moving printer components. To ensure stability, mount your camera on a tripod or stand and avoid placing it in the path of vibrations or shaking. Choosing the right camera and setting it up correctly will help you create stunning time lapse videos of your 3D printing projects.
Essential Components for Successful Time-Lapse Recording
When setting up your camera for time-lapse recording, ensure you have all the necessary components to successfully capture the printing process. A custom cable setup is essential for connecting your camera to the printer and triggering it at each layer change. Proper camera positioning is crucial to avoid interference with moving components and ensure a clear view of the printing process. Optimizing the G code instructions is important for capturing a picture after each layer and creating a seamless time-lapse video. Take the time to configure your camera settings and storage capacity before starting the recording. Don’t underestimate the power of time-lapse videos in showcasing the mesmerizing process of 3D printing and attracting attention to your projects.
Creating a Custom Cable for Your Camera: A Step-by-Step Guide
Once you have gathered the necessary components, follow these step-by-step instructions to create a custom cable for your camera. Creating a custom cable guide is essential for ensuring camera compatibility and capturing high-quality time-lapse videos of your 3D printing projects. However, it’s important to take soldering precautions to avoid damaging your device. The cost estimation for the required parts is approximately $5-7 USD, making it an affordable DIY option. By making your own custom cable, you not only save money but also gain the flexibility to adapt it for future projects. This guide provides diagrams and instructions for various camera brands, including specific instructions for Lumix cameras. Consider purchasing sets of parts to be prepared for future customization needs.
Connecting the Cable to Your Printer: Tips and Troubleshooting
Connecting the custom cable to your printer can be done either from inside the case or from the back, providing options for proper wire connections and minimizing potential issues. To ensure a successful connection, here are three important tips:
- Check camera compatibility: Before connecting the cable, make sure it is compatible with your camera model. Different cameras may require specific cable connections.
- Troubleshoot cable connections: If you encounter any issues with the cable connection, try troubleshooting steps such as checking for loose or damaged wires, ensuring proper alignment of connectors, and verifying correct soldering if applicable.
- Proper cable assembly: When assembling the custom cable, follow detailed instructions to ensure all components are connected correctly. Take extra care when soldering to avoid damaging any devices or cables.
Optimizing G-Code for Flawless Time-Lapse Recording
To ensure flawless time-lapse recording, it’s important to optimize the G-Code instructions for capturing each layer of your 3D print. Start by setting an appropriate timelapse interval in the G-Code, ensuring enough time between layer changes for the camera to capture clear images. Make necessary modifications to the G-Code to trigger the camera at each layer change. Additionally, adjust your camera settings for optimal results, such as adjusting exposure and focus. Consider the storage capacity of your camera and make sure it can handle capturing all the layers of your print. Finally, monitor the timelapse recording process closely to catch any potential issues or errors that may arise during printing.
Setting up Your Camera: Tips for Positioning and Stability
Now that you have optimized your G-Code for flawless time-lapse recording, it’s time to set up your camera for capturing the perfect shots. Here are some tips to help you with camera positioning and stability:
- Finding the right angle: Experiment with different angles to capture the best view of your 3D printer in action. Consider placing the camera next to the printer or mounting it on the base plate, depending on whether the base plate moves or not.
- Stability tips: Use a solid tripod or stand to keep your camera steady throughout the recording process. This will prevent any unwanted shaking or blurriness in your time-lapse video.
- Avoiding interference and ensuring safety: Make sure that the camera is positioned in a way that it doesn’t interfere with any moving components of your printer. Additionally, ensure that it is placed safely away from any potential hazards to avoid accidents.
Exploring the Benefits of Time-Lapse Photography in 3D Printing
Get ready to discover how time-lapse photography in 3D printing can enhance your understanding and appreciation of the intricate process. Time-lapse videos condense hours of 3D printing into visually appealing videos, attracting attention and showcasing the creation of a product. These videos not only provide insights into potential problems during the printing process but also offer an educational and entertaining way to tell the story behind 3D prints. By watching these time-lapse videos, you can gain a deeper understanding of the intricacies involved in 3D printing and appreciate the skill and precision required. Time-lapse photography is a powerful technique that allows you to witness every step of the printing process, from start to finish, in a condensed and captivating format.
Minimum Requirements and Basic Setup for Time-Lapse Videos
Using a smartphone with a time-lapse feature or downloadable app, along with a stable stand, is the minimum requirement for creating time-lapse videos of 3D printing. To ensure the best results, here are some stability tips to keep in mind:
- Camera Angle: Find the right angle and distance from the printer to capture the entire printing process clearly.
- Lighting Considerations: Ensure consistent lighting throughout the video by using daylight compact fluorescent bulbs and reflectors to focus the light.
- Storage Capacity: Make sure your smartphone has sufficient storage capacity to store all your time-lapse videos without running out of space.
While smartphones can get the job done, using a DSLR camera provides higher quality images and more professional results. However, this requires additional equipment such as a solid tripod and adjustable light sources. Ultimately, it’s up to you to decide which setup suits your needs and budget.
Taking Your Time-Lapse Videos to the Next Level: Professional Setup and Techniques
To elevate your time-lapse videos to a more professional level, consider investing in a DSLR or GoPro camera along with a solid tripod and adjustable lighting for optimal image quality. Professional lighting will enhance the overall look of your videos, while using the right camera settings can help capture intricate details of the printing process. Experiment with different angles to add creativity to your shots and make sure to adjust the focus for sharp images. After capturing your footage, utilize post-processing techniques such as color grading and stabilization to further enhance the final result. Taking these steps will ensure that your time-lapse videos stand out with their professional quality and captivating visuals.


