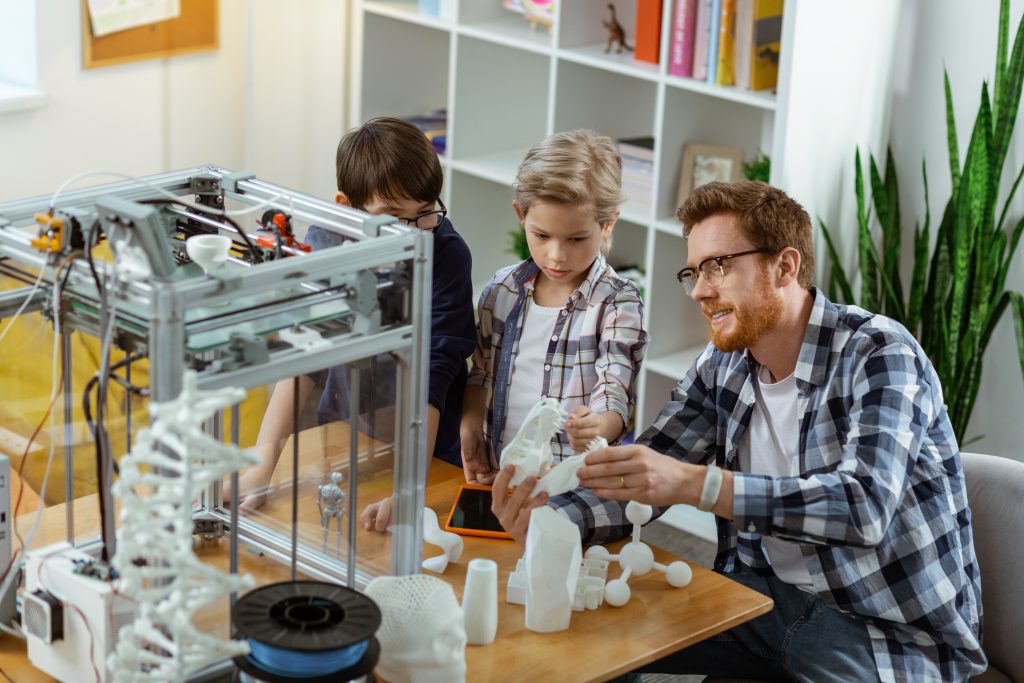
Are you interested in learning how to create your own 3D models for printing? In this step-by-step guide, we will show you the process of turning your ideas into tangible objects. From choosing the right design software to optimizing and customizing your model, we will walk you through each stage. With the help of 3D printing technology, you can bring your imagination to life and unleash your creativity like never before. Let’s dive in and get started!
Choosing the Right 3D Design Software
When choosing the right 3D design software, it’s important to consider factors such as ease of use and functionality. There are a variety of options available, each with its own set of features and capabilities. To start, you can compare different 3D design software options based on their user interface, toolset, and compatibility with various file formats. Once you have selected a software, you can explore its advanced features such as parametric modeling, mesh editing, and rendering capabilities. However, it’s also essential to be aware of common issues that may arise while using 3D design software. These can include crashing or freezing of the program, difficulties in importing or exporting files, or problems with file compatibility. Troubleshooting these issues will help ensure a smooth experience when creating your 3D models for printing.
## Creating a 3D Model From Scratch
To create a 3D model from scratch, you can use various software programs that allow for the design and customization of intricate shapes and structures. Here are the steps to follow:
1. Start with a 2D design: Begin by creating or finding a 2D design that you want to convert into a 3D model. This can be an image, drawing, or even a scanned object.
2. Convert to 3D: Use specialized software like Autodesk Fusion 360 or Blender to convert your 2D design into a 3D model. These programs offer tools for extruding, sculpting, and manipulating digital objects.
3. Sculpt and refine: Once your design is in 3D, you can further sculpt and refine it using digital tools like ZBrush or Mudbox. These programs provide advanced features for adding details and textures to your model.
Customizing and Optimizing Your 3D Model
You can customize and optimize your 3D model by adjusting its dimensions, adding intricate details, and refining its structure. Customizing options allow you to tailor the design according to your specific needs. You can easily modify the size, shape, and proportions of the model to achieve the desired outcome. Additionally, optimizing settings is crucial for achieving high-quality prints. By adjusting parameters such as layer height, infill density, and print speed, you can enhance the overall print quality and reduce printing time. Troubleshooting common issues is also an important aspect of customization and optimization. Identifying and addressing problems like warping or stringing can greatly improve the final result of your 3D printed model. It is essential to experiment with different settings and techniques to find the optimal configuration for your specific project.
Exporting and Preparing Your Model for 3D Printing
Exporting and preparing your 3D model for printing involves adjusting settings, such as scale and orientation, to ensure a successful print. Here are the steps you need to follow:
1. Choose the appropriate file format for 3D printing: Common file formats include STL (Standard Triangle Language) and OBJ (Object). These formats are widely supported by most 3D printers.
2. Check the scale of your model: Ensure that the size of your model is suitable for the desired printing dimensions. You can use software tools to resize or scale your model accordingly.
3. Verify the orientation of your model: Make sure that your model is positioned correctly for optimal printing results. This includes ensuring that any overhangs or delicate parts are properly supported.
Printing and Finishing Your 3D Model
Printing and finishing your 3D model involves carefully monitoring the progress of the print job to ensure a successful outcome. Once your model has finished printing, it’s time for post-processing techniques that can improve the quality of your 3D prints. One common post-processing step is removing any support structures that were used during printing. This can be done using pliers or other tools to gently separate the supports from the printed object. Sanding is another technique that can smooth out rough surfaces and remove layer lines, resulting in a more polished look. Additionally, coloring can be done using paints or dyes to add customization and enhance details on your print. Troubleshooting common issues in 3D printing may involve adjusting settings such as temperature or speed, ensuring proper bed adhesion, or addressing issues with filament feed. Lastly, it’s important to note that there are different types of 3D printing materials available, each with its own unique properties and characteristics. Some commonly used materials include PLA, ABS, PETG, and TPU. Understanding these materials will help you choose the most suitable one for your specific project needs.


